
Homemade Cinnamon Rolls Easy And Quick Recipe let me tell you, I wish I’d had this one the first time I tried making them. I remember it clearly. Not because they were good (they weren’t). Not because they were fast (they took 4 hours).
But because they glued themselves to the pan so fiercely I thought I’d invented a new material. Learned a few things that day. Chief among them? Simplicity often wins over perfection. And when it comes to homemade cinnamon rolls done right they’re stupidly comforting. Pillowy-soft, buttery, warm, and unapologetically messy.
This recipe’s not fancy. But it works. Every time. It’s made for early mornings when you don’t have the patience for complicated. Or for late nights when you just want something that tastes like a hug.
We’ll skip the fuss. No 3-hour proof. No stand mixer required. Just smart shortcuts, solid dough handling, and that magical swirl of cinnamon and brown sugar that melts into sticky, gooey gold.
Let’s talk about what makes this recipe worth it.
What Makes These Cinnamon Rolls Special
First: the dough. It’s a soft enriched dough, but not finicky. We’re using instant yeast and warm milk to speed things along. No second rise on the counter. Just one, and then they go straight into the oven.
Second: the filling. Brown sugar, yes. But also a splash of vanilla right in the spread. It’s a tiny cheat that gives it depth, like you simmered it longer than you actually did. And there’s no need to pre-cook anything. Butter + sugar + cinnamon = magic.
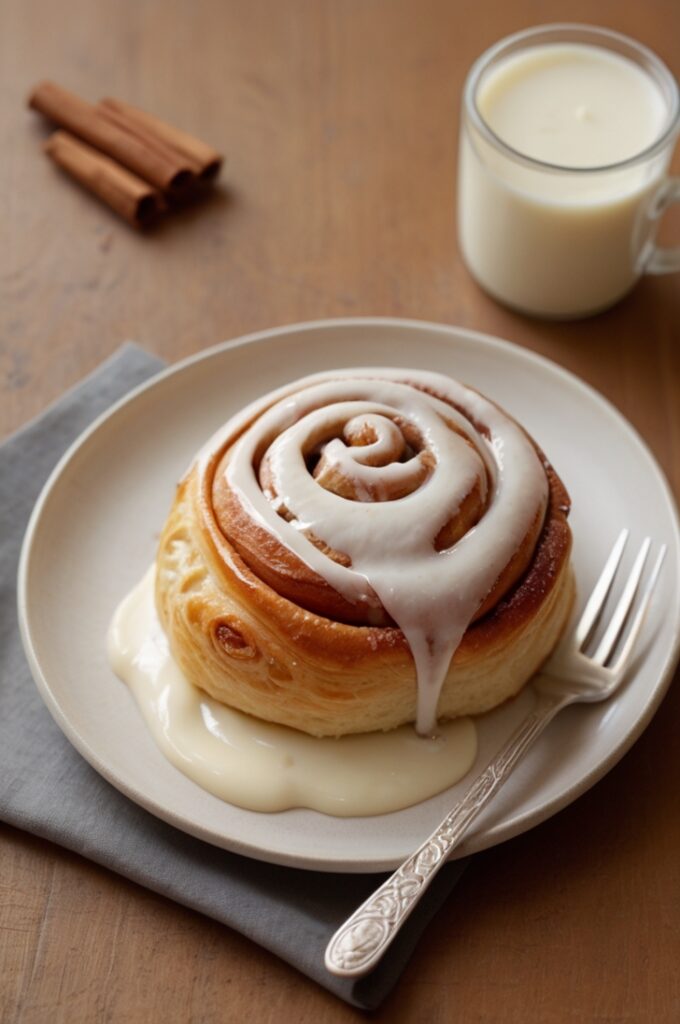
Third: the cream cheese glaze. It’s not thick. It’s barely sweet. It melts down the sides like icing on a hot bun should. I hate frosting that sits on top like a hat. This one runs like it knows where it’s going.
Now. Let’s get into the details.
Ingredients & Substitutions
For the Dough:
- ¾ cup warm milk (whole or 2%) warm like bathwater, not lava
- 2¼ tsp instant yeast (one standard packet)
- ¼ cup granulated sugar
- 1 egg + 1 egg yolk (room temp, always)
- ¼ cup unsalted butter, melted but not screaming hot
- 3 cups all-purpose flour (don’t pack it down fluff, scoop, level)
- ¾ tsp salt
Substitutions & Notes:
- Can’t do dairy? Almond milk works, just warm it gently. Use vegan butter too.
- No eggs? Sub a flax egg (1 tbsp ground flax + 2.5 tbsp water). Texture will be a smidge gummier, but still dreamy.
- All-purpose flour gives a tender roll. Bread flour works if you want more chew. Skip whole wheat here it’ll dry out.
For the Filling:
- ½ cup brown sugar (light or dark, both good)
- 1½ tbsp cinnamon (not the stale stuff from ’09 please)
- ¼ cup unsalted butter, super soft
- ½ tsp vanilla extract (yes, in the filling)
For the Glaze:
- 4 oz cream cheese, room temp
- 2 tbsp butter, room temp
- ¾ cup powdered sugar
- ½ tsp vanilla extract
- Pinch of salt
- Splash of milk if it’s too thick (eyeball it)
Want a punchier flavor? Add a few drops of orange zest to the glaze. Or spike it with bourbon. I won’t tell.
Step-by-Step Instructions
1. Activate the Yeast
In a large bowl (use metal or glass), mix warm milk and sugar. Sprinkle yeast on top. Wait 5–10 minutes. If it doesn’t foam up like a frothy beer head, toss it. Yeast is moody. Better safe than dense rolls.
2. Add Wet Ingredients
Whisk in the egg, yolk, and melted butter. Make sure nothing’s too hot or it’ll kill the yeast. Think: warm, not sizzling.
3. Add Dry Ingredients
Dump in flour and salt. Use a wooden spoon to mix till a shaggy dough forms. Switch to your hands and knead gently in the bowl for a minute. Dough should be soft and a little tacky, like a Post-it.
Tip: If it’s dry and crumbly, add a tablespoon of milk. If it’s a sticky swamp, dust with flour just don’t overdo it.
4. Knead & Rise
Transfer to a lightly floured surface. Knead 7–9 minutes. The dough should feel like a baby’s cheek springy but tender.
Place in an oiled bowl. Cover with a damp towel or cling wrap. Let it rise somewhere warm for about 60–90 minutes. It should double, not triple.
Pro tip: The top of your fridge or inside your turned-off oven with the light on makes a solid warm spot.
5. Roll Out & Fill
Once risen, punch down the dough (yes, punch it) and roll into a rectangle. Roughly 14×9 inches. Doesn’t need to be perfect unless you’re on camera.
Spread softened butter over the whole surface. Mix brown sugar, cinnamon, and vanilla in a bowl. Sprinkle that mix generously. Press it lightly into the dough with your palms. It helps it stick.
6. Roll Up & Slice
Roll the dough up tightly, starting from the longer edge. Pinch the seam closed.
Use unflavored dental floss (seriously) or a serrated knife to slice into 9 rolls. If you’re using a knife, saw don’t press or they’ll flatten like pancakes.
7. Second Rise (Quick Version)
Place rolls into a buttered 9×9 baking dish. Leave a little room between each. Cover and let rise 25–30 minutes while you preheat your oven to 350°F (175°C).
Shortcut? If you’re impatient, skip this second rise. They’ll puff a bit less, but they’ll still taste insane.
8. Bake
Bake uncovered for 22–26 minutes. Tops should be just golden, centers soft but not raw. If they brown too fast, cover loosely with foil.
Stick a thermometer in the middle roll 190–200°F is perfect. That’s how the pros avoid gummy middles.
9. Glaze While Warm
Beat cream cheese and butter till smooth. Add sugar, vanilla, and salt. Thin with milk if needed. Drizzle it over warm rolls not hot out the oven or it’ll melt into nothing. Warm. Think “cozy socks” warm.
Cooking Techniques & Dough Science
This dough is enriched eggs, milk, butter which means it needs gentle handling. Too much flour and it goes dry like old cake. Too little and you’re wrestling a sticky ghost.
We use instant yeast because it’s forgiving. Doesn’t need to be proofed but we do it anyway. Because trust issues.
The reason we use warm milk and melted butter is to jumpstart fermentation. Yeast thrives around 100–110°F. Much hotter and you’re making soup, not dough.
Dental floss for cutting? Keeps rolls round and airy instead of squished. That one tip alone? Chef’s kiss.
And that short final rise? It’s optional because of the high hydration and warm oven. But even 25 minutes helps give them that plush, bakery-style look.
Serving & Pairing Suggestions
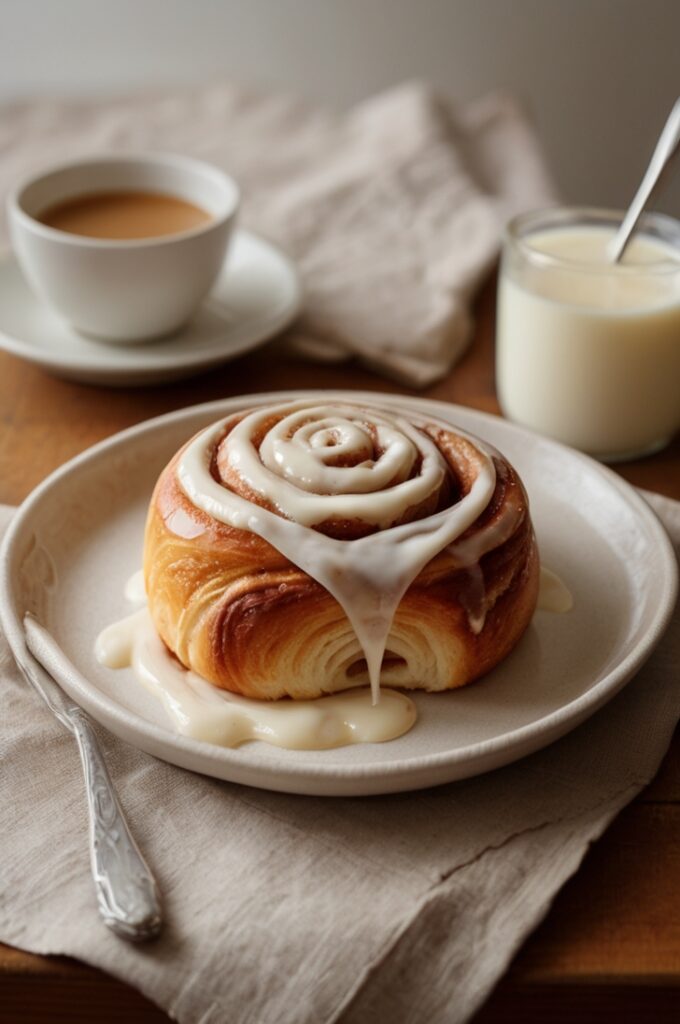
Serve these rolls warm. Not scalding, just enough to feel like you’re holding sunshine.
Plate on a big dish. Let the glaze drip. Add a dusting of powdered sugar if you’re showing off.
Pair with:
- Black coffee. Cuts the sweetness like a pro.
- Bacon or sausage patties for a salty edge.
- Fresh berries. Something tart to balance the richness.
Want to go full brunch bomb? Serve with mimosas and a soft scramble on the side.
FAQs About Homemade Cinnamon Rolls Easy And Quick Recipe
1. Can I make these ahead of time?
Yes! Roll and slice them, place in your baking dish, cover tightly, and refrigerate overnight. Let them come to room temp for 30–45 minutes before baking.
2. How do I store leftover cinnamon rolls?
They keep for 2 days covered at room temp or 4–5 days in the fridge. Reheat in the microwave for 15–20 seconds to soften.
3. Can I freeze these?
Absolutely. Freeze before baking (post-slicing) or after baking (unglazed). Thaw overnight in the fridge, warm, then glaze.
4. My dough didn’t rise what went wrong?
Yeast could’ve been old, milk too hot, or the environment too cold. Always check your yeast’s expiration date and proof it if in doubt.
5. Can I use a stand mixer?
Yep! Use the dough hook on medium-low for 7–8 minutes. But honestly? Hands work just fine and give you better control.
Let the rolls be a little crooked. Let the glaze drip. That’s how you know they’re homemade.
Final Thoughts from the Trenches
These cinnamon rolls are everything you want in a homemade treat without the 4-hour slog. They’re soft. Buttery. Sweet in the middle. Barely crisp at the edges if you hit the oven time right.
One rise. One bowl. No drama.
Biggest tip? Don’t overthink the dough. It doesn’t care if your rectangle’s crooked. Or your rolls aren’t perfectly round. They’ll still smell like heaven and taste even better.
So whether you’re making these at 7am for a crowd or 11pm for yourself, remember: the best food’s a little messy.


