Chocolate Mountains Recipe ever burnt chocolate at 2AM and still eaten it because it smelled like something worth crying over? Yeah. That’s how I stumbled on this one. Not so much a recipe at first more like a late-night sugar mistake that collapsed in the oven, puffed back up, and tasted like a secret you don’t share till you’ve perfected it.
And now it’s a thing.
What Are Chocolate Mountains?
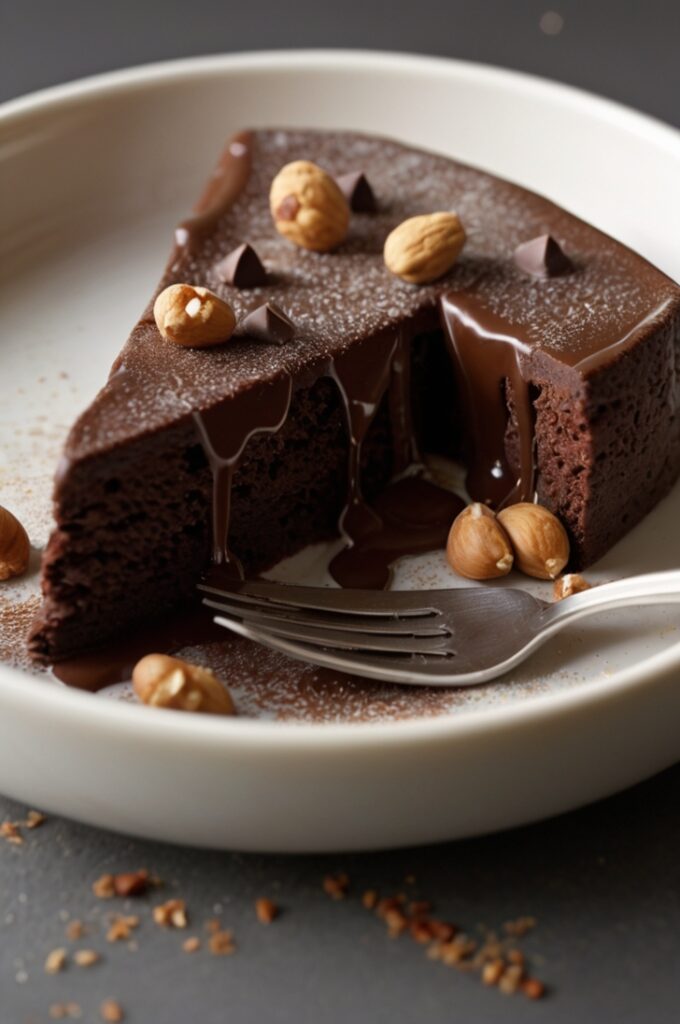
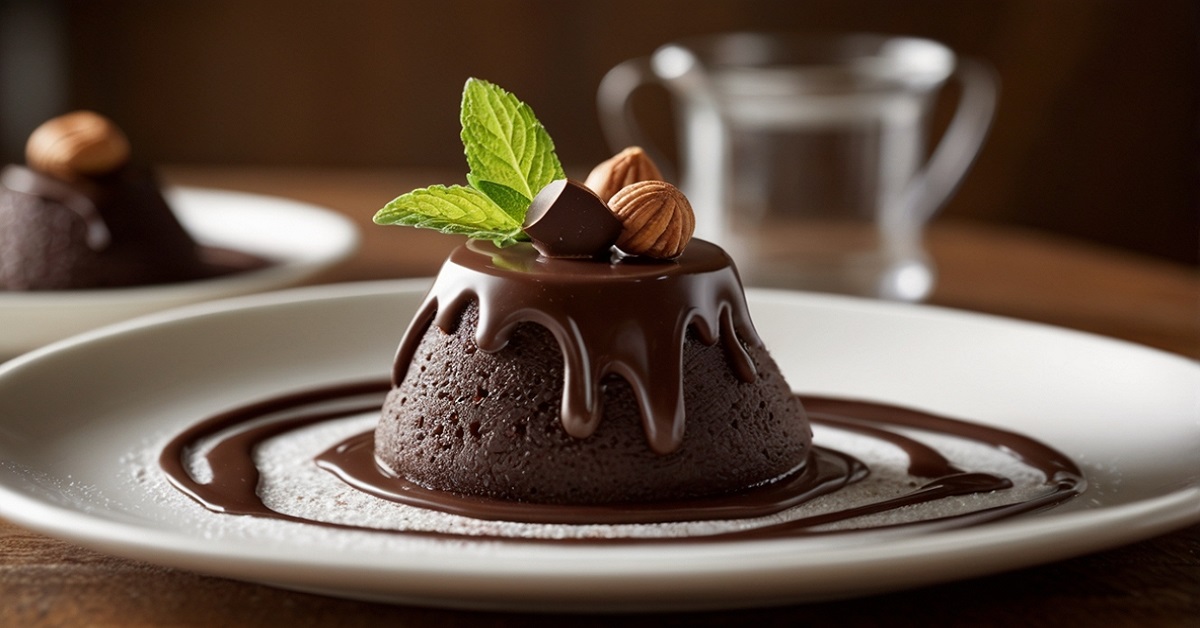
Chocolate Mountains are dramatic. Think soufflé meets lava cake meets rustic meringue clamshell. Craggy tops, molten middles, bittersweet dark base, and a soft core that threatens to ooze but just barely holds its shape. They rise fast, slump gently, and crack in all the right ways.
It’s dessert theater.
The technique? Half batter, half alchemy.
They’re made with dark chocolate (don’t skimp), a bit of flour (but not too much), whipped egg whites for structure, and a sneaky touch of espresso powder to make it all taste darker than dark.
They’re dramatic. And if done wrong, they taste like dense mud or dry sponge. But when you nail it… they taste like midnight.
Let’s get into the real work.
Ingredients & Substitutions
This isn’t one of those “dump and stir” deals. What you use here matters big time.
Ingredients (makes 6 servings):
- 200g high-quality dark chocolate (70% cocoa minimum)
- 100g unsalted butter (European-style, high fat preferred)
- 3 large eggs, separated
- 90g granulated sugar
- 1 tsp espresso powder (optional but killer)
- 1 tbsp Dutch-processed cocoa powder
- 1 tbsp all-purpose flour (or fine almond flour for gluten-free)
- ¼ tsp cream of tartar or a pinch of salt
- Flaky sea salt, for garnish
- Powdered sugar or cocoa powder, for dusting
Substitutions & Pro Tips:
Use bittersweet couverture chocolate if you’ve got access. The higher cocoa butter content makes the interior silkier. Supermarket bars? They’ll work but avoid anything with vegetable oils or artificial vanilla.
No espresso powder? Sub in a teaspoon of instant coffee, finely ground. It’s not quite as rich, but it’ll do the job.
Gluten-free? Almond flour works a treat, just sift it fine nobody wants grainy grit in a molten bite.
And please, for the love of butter, don’t use margarine. This ain’t the place.
Step-by-Step Instructions
The devil’s in the details here. Skip a beat, and your mountain becomes a mudslide.
1. Prep the chocolate base
Melt butter and dark chocolate together over a bain-marie. Stir gently. Don’t let water hit the chocolate steam kills texture like nothing else.
Once melted, whisk in cocoa powder and espresso. Let it cool slightly dumping eggs into hot chocolate scrambles ‘em. Nobody wants scrambled eggs in dessert. Unless you’re trying to offend a pastry chef.
2. Separate your eggs like you mean it
Yolks go into the cooled chocolate mix. Whites into a clean bowl clean means no grease or yolk streaks. If your whites don’t whip? Nine times outta ten, it’s ’cause the bowl was dirty.
3. Whip it. Whip it real good.
Add cream of tartar (or a pinch of salt) to egg whites. Start slow, then increase speed. When they hit soft peaks, gradually add sugar. You want glossy, firm-ish peaks not dry, not weepy.
Overbeat and you’ll get suds. Underbeat and the whole structure collapses. This part decides whether your mountains rise or flop.
4. Fold like a pro
Take a third of the whipped whites and mix into the chocolate. No finesse needed yet just loosen the batter. Then gently fold in the rest using a spatula. Overmix and you’ll lose all that lift. Underfold and you’ll get white streaks. Find the sweet spot.
5. Spoon into ramekins
Butter the ramekins and dust with cocoa powder. Not flour cocoa blends in better and gives a smooth exterior.
Fill them ¾ full. Don’t overfill unless you want chocolate volcanoes on your baking tray. Cute, but messy.
6. Bake hot, bake fast
Preheat oven to 200°C (390°F). Bake for 10–12 minutes, middle rack. You’re looking for puffed tops, set edges, and just-slightly jiggly centers.
Touch the top it should resist slightly, like a firm pillow. If it caves, it’s raw. If it’s rock-hard, you’ve gone too far. Take notes.
Cooking Techniques & Science
Here’s where the pastry nerd bit kicks in.
Why the whipped egg whites?
It’s your only leavening agent. No baking powder here. The whipped whites trap air, giving that craggy rise and fluffy bite. You kill the air, you kill the mountain.
Chocolate temper? Not this time.
We’re not tempering, we’re melting. That means your chocolate should be chopped fine and melted gently. High heat = split, grainy texture. Low and slow = glossy, luscious base.
Why the quick bake at high temp?
It creates contrast. The outsides set fast, while the middle stays soft. Think of it like reverse-engineering a lava cake without the gimmick. More bite, less goo.
Tool talk:
- Metal bowls for egg whites they’re cleaner than plastic.
- Stand mixer helps, but a handheld does the trick too.
- Use ramekins with straight walls. Sloped bowls mess with the rise.
Serving & Pairing Suggestions
Plating’s where you make this feel like an event.
Dust with cocoa or powdered sugar don’t go nuts. A tiny mound is enough. Flaky sea salt on top? Total game-changer. You need that contrast to cut the richness.
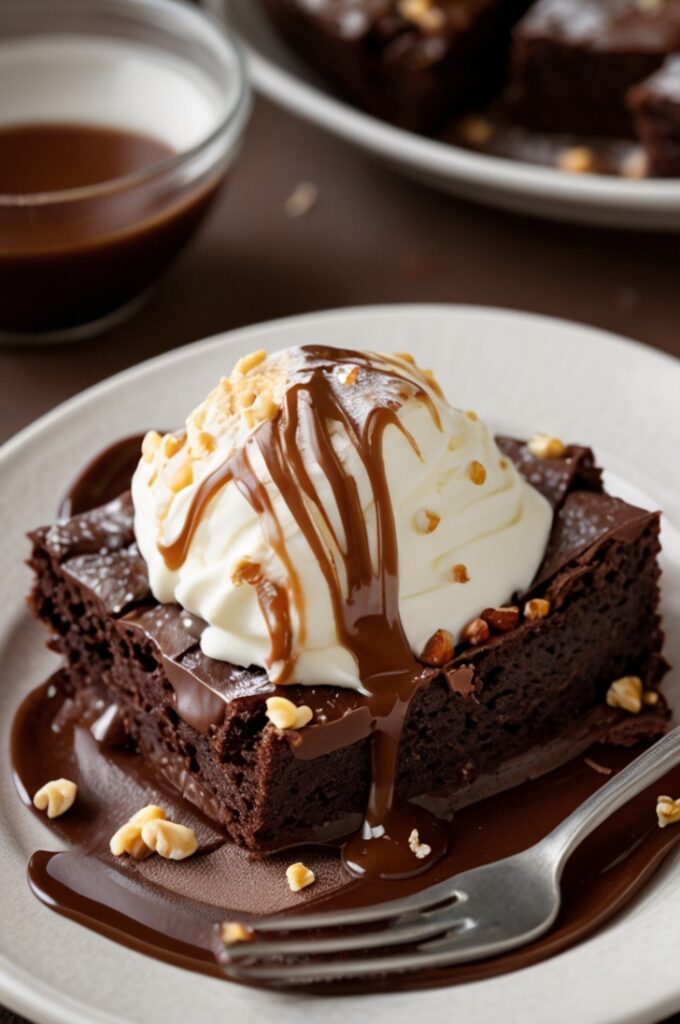
Serve with crème fraîche or a scoop of sour cherry sorbet if you’re feeling bougie. Want something classic? Vanilla bean ice cream. Just no whipped cream. It fights with the texture.
Drink pairing? Port. Maybe an espresso. Or a rich Malbec if you’re going savory with the rest of the meal.
Bonus move: crack one open tableside. Steam puffs out. Drama for days.
FAQs About Chocolate Mountains Recipe
1. Can I make Chocolate Mountains ahead of time?
Sort of. You can make the batter and fill the ramekins, then chill. But bring them to room temp before baking cold batter won’t rise right.
2. Can I freeze them?
Unbaked? Yes, just wrap tightly. Add 2–3 mins to baking time from frozen. Baked? Meh. You’ll lose that molten center.
3. What if I don’t have ramekins?
Use a muffin tin lined with parchment collars or even silicone molds. Just be aware: thinner molds bake faster.
4. Why did mine collapse after baking?
They’re meant to slump a little it’s part of the look. But if they totally cave in, you likely overbaked the edges and underbaked the center. Try reducing oven temp slightly next round.
5. Can I reduce the sugar?
You can, but flavor balance gets tricky. Dark chocolate’s already bitter. Cut the sugar too far and it starts tasting medicinal. Don’t say I didn’t warn ya.
You wanna impress a crowd of jaded chefs? Make Chocolate Mountains. They’re intense. A little risky. Just the way dessert should be.
Want me to write a version of this recipe for a dessert menu or plated-service prep?
Final Thoughts from the Line
Chocolate Mountains aren’t crowd-pleasers in the cupcake sense. They’re intense. A little bitter. Moody, like a chocolate version of Radiohead.
But they’re satisfying. Real satisfying.
You’ve got textural contrast, deep flavor, complexity from the espresso and cocoa… and that molten core? That’s the soul of it. Nail the timing, and it flows like a dream. Miss it, and it’s just… meh.
But once you get a feel for it? You’ll riff on it forever. Swap in orange zest. Add chili flakes. Stuff the center with a hazelnut praline ball and serve it frozen in the middle.
Point is: This dessert’s got layers, metaphorically and literally.

