This Roast Beef Sliders for a Crowd was born from chaos. Picture this: it’s 2 AM on a Saturday, and I’m standing in the kitchen of a high-end catering company, frantically calculating portions for a wedding reception of 200 guests.
The bride had just called to double the appetizer order, and my signature roast beef sliders were the star of the show. That night taught me something crucial – when you’re feeding a crowd, it’s not just about scaling up a recipe.
It’s about mastering the art of timing, temperature control, and creating something that tastes just as spectacular for the 150th person as it does for the first.
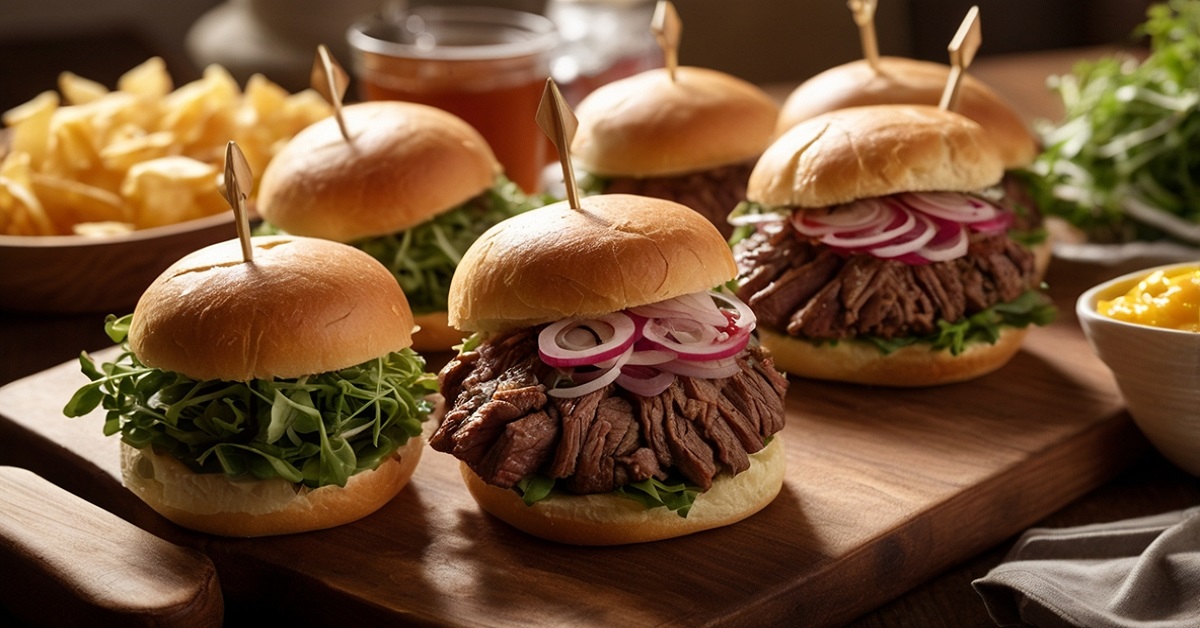
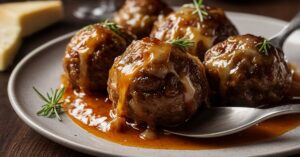
Roast beef sliders aren’t just miniature sandwiches; they’re architectural marvels of flavor engineering. Each component must harmonize perfectly the tender, pink-centered beef, the soft yet sturdy bun that won’t collapse under pressure, and those finishing touches that transform a simple sandwich into a memorable experience.
What makes this roast beef sliders for a crowd recipe special is its foolproof scalability and the professional techniques that ensure consistent results, whether you’re serving 20 or 200.
The secret lies in understanding the science behind crowd cooking. Temperature retention, moisture management, and strategic preparation create sliders that maintain their integrity and flavor even when held for extended periods.
Ingredients & Substitutions
The Foundation: Premium Beef Selection
Primary Roast (serves 50 sliders):
- 8-10 lb eye of round roast (or substitute with top round for budget-conscious events)
- 2 tablespoons kosher salt
- 1 tablespoon fresh cracked black pepper
- 2 teaspoons garlic powder
- 1 teaspoon smoked paprika
The eye of round might seem like an unusual choice, but here’s why it’s brilliant for sliders – it’s lean, uniform, and slices beautifully when cooked properly. The key is low and slow cooking to break down the connective tissue without drying out the meat. For those working with tighter budgets, top round works wonderfully, though it requires even more careful temperature monitoring.
Slider Assembly Components:
- 50 slider buns (preferably brioche or potato rolls)
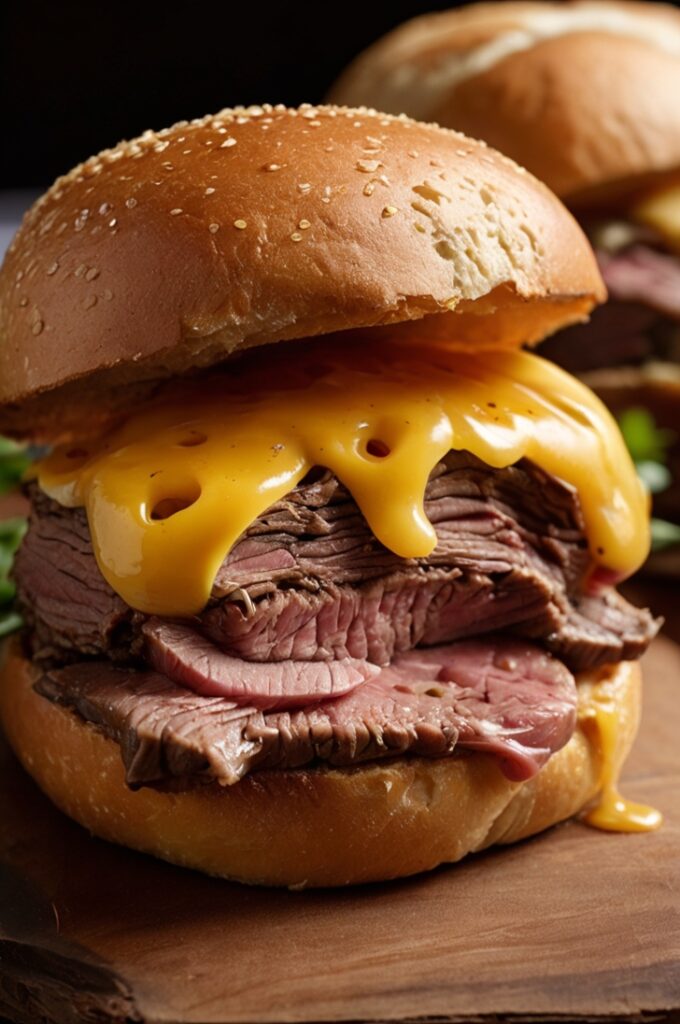
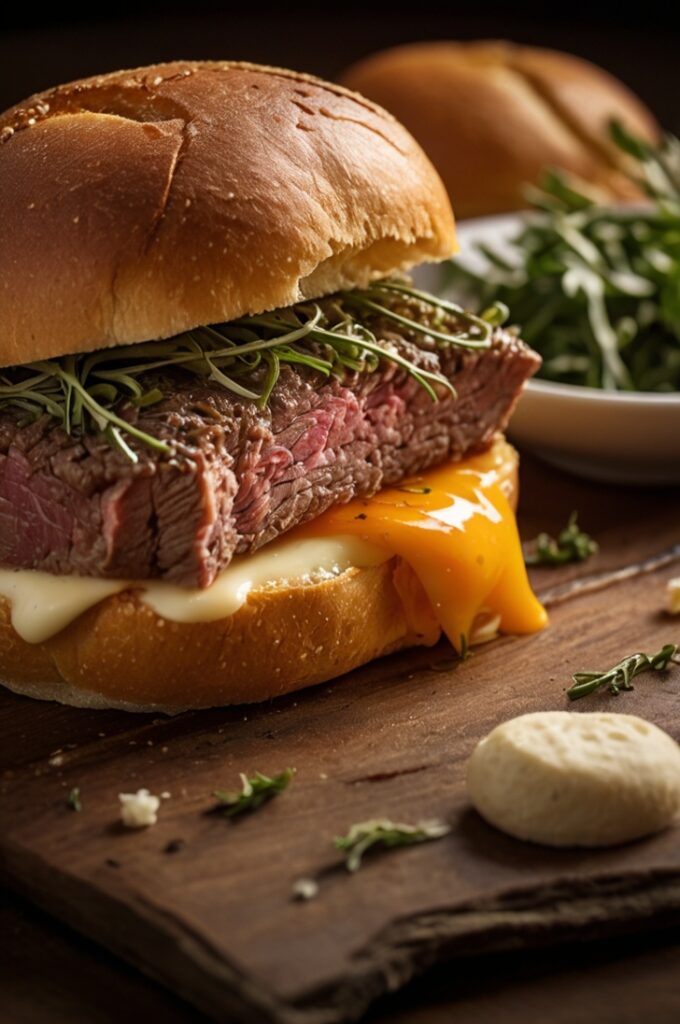
- 1 lb aged cheddar, thinly sliced
- 2 large sweet onions, caramelized
- 1 cup horseradish cream sauce
- 2 bunches fresh arugula
- 1/4 cup olive oil for brushing
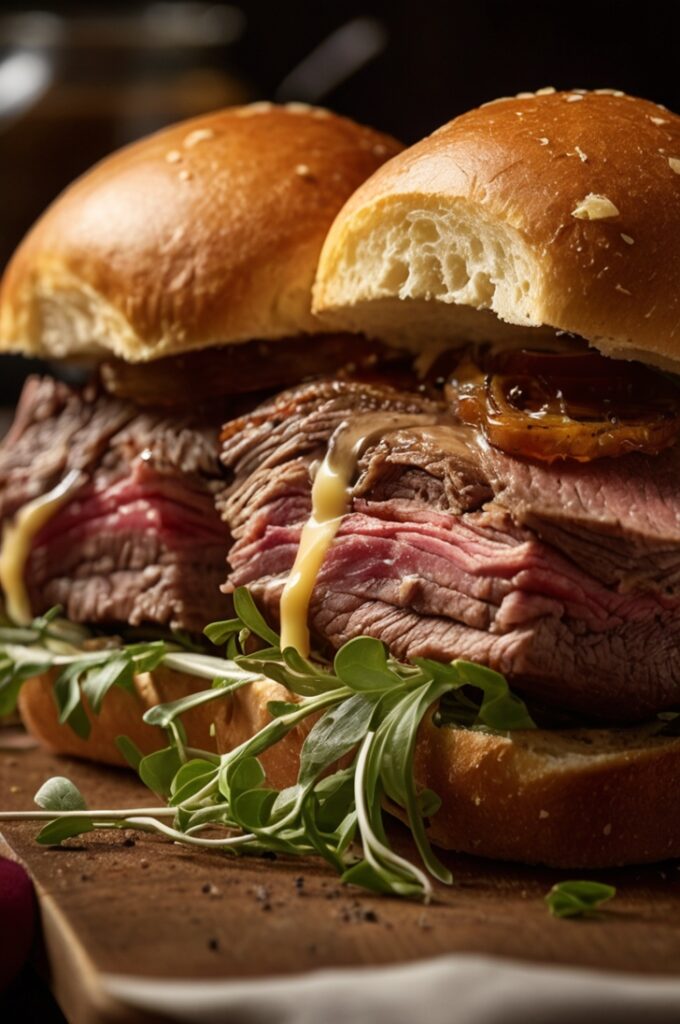
Brioche buns are the gold standard here because their buttery richness complements the beef without competing. However, potato rolls offer excellent moisture retention – crucial when you’re preparing sliders in advance. Avoid standard hamburger buns; they’ll turn soggy faster than you can say “disappointed guests.”
Smart Substitutions for Dietary Needs
For gluten-free crowds, substitute with sturdy gluten-free slider buns (test them first – some fall apart easier than others). Vegan cheese alternatives work surprisingly well, though I recommend aged cashew-based varieties over the processed options. The horseradish cream can be made dairy-free using cashew cream as the base.
Step-by-Step Instructions
Phase 1: The Perfect Roast (Day Before Service)
Start your roast 24 hours before serving – this isn’t just preparation, it’s strategy. Remove the roast from refrigeration 2 hours before cooking to ensure even temperature throughout. This step is non-negotiable; cold centers lead to uneven cooking and tough meat.
Preheat your oven to 275°F – yes, that low. High-heat roasting might work for smaller cuts, but crowd cooking demands patience. Season the roast generously, creating a crust that will seal in juices during the long cooking process.
Place the seasoned roast on a wire rack set inside a roasting pan. The wire rack prevents the bottom from steaming and ensures even browning. Insert a probe thermometer into the thickest part, avoiding fat pockets that can give false readings.
Roast until the internal temperature reaches 128°F for medium-rare – this typically takes 3-4 hours. The beauty of low-temperature roasting is the forgiveness factor; your roast won’t jump from perfect to overcooked in minutes like it would at higher temperatures.
Phase 2: The Critical Rest Period
Here’s where most home cooks go wrong – they skip the proper resting phase. Tent your roast with foil and let it rest for at least 45 minutes. During this time, the internal temperature will rise another 5-7 degrees, reaching that perfect medium-rare of 135°F.
The resting period redistributes the juices throughout the meat, preventing that disappointing puddle of liquid on your cutting board. For crowd service, you can hold the roast in a low oven (170°F) for up to 2 hours after resting.
Phase 3: Strategic Slicing and Assembly
Slice against the grain – this isn’t optional. Eye of round has prominent muscle fibers, and cutting with the grain creates chewy, stringy meat that’ll have your guests working their jaws overtime. Aim for slices about 1/4 inch thick; thinner tears, thicker overwhelms the bun.
For crowd service, slice only what you need initially and keep the remaining roast whole. Pre-sliced meat dries out quickly, even under warming conditions.
Cooking Techniques & Science
The Low-and-Slow Philosophy
Low-temperature roasting isn’t just trendy – it’s scientifically superior for lean cuts like eye of round. At 275°F, the collagen breaks down gradually without forcing moisture from the muscle fibers. Higher temperatures create a dramatic temperature gradient, resulting in gray, overcooked edges and undercooked centers.
The probe thermometer becomes your most valuable tool here. Unlike steaks, where you can rely on touch and timing, large roasts require precise internal temperature monitoring. The difference between perfectly pink and disappointingly gray is often just 5-10 degrees.
Moisture Management Mastery
Crowd cooking presents unique challenges, particularly moisture retention. Sliders assembled too early become soggy; assembled too late creates bottlenecks during service. The solution lies in component preparation and strategic assembly timing.
Toast your buns lightly – this creates a moisture barrier that prevents sogginess. However, don’t toast them to a crisp; they need enough give to compress slightly when bitten without falling apart.
Temperature Control Systems
Professional kitchens rely on holding ovens and steam tables, but home cooks can achieve similar results with careful planning. Wrap assembled sliders in aluminum foil and hold in a 200°F oven for up to 45 minutes. The foil traps steam, keeping buns soft while maintaining meat temperature.
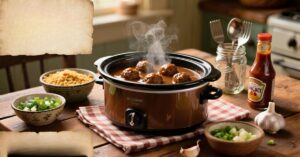
For larger crowds, consider a slow cooker on “warm” setting. Line it with damp paper towels, arrange sliders in a single layer, and cover. This creates a gentle steam environment that prevents drying.
Advanced Preparation Strategies
The Make-Ahead Timeline
Three days before: Prepare horseradish cream sauce and caramelize onions. Both improve with time as flavors meld and develop complexity.
Two days before: Season and refrigerate the roast. This extended seasoning period allows salt to penetrate deeper into the meat, enhancing flavor throughout.
Day before: Cook the roast, cool completely, and refrigerate whole. Slice cheese and prepare garnishes.
Day of service: Slice meat, warm components, and assemble just before serving.
Scaling Mathematics
The beauty of this recipe lies in its mathematical precision. Each slider uses approximately 2.5-3 ounces of sliced beef, making portion calculations straightforward. A 10-pound roast yields roughly 50-55 sliders after accounting for cooking loss and trimming.
When doubling or tripling recipes, maintain the same cooking temperature but extend time proportionally. Two 8-pound roasts cook more evenly than one 16-pound roast, though they require additional oven space.
Serving & Pairing Suggestions
Presentation Excellence
Arrange sliders on wooden boards or slate platters for visual impact. Group them in odd numbers – the human eye finds odd groupings more aesthetically pleasing. Garnish boards with fresh herbs, cornichons, and small bowls of extra horseradish sauce.
For buffet service, provide small plates and napkins nearby. Sliders might be finger food, but the juices and sauces demand proper table manners. Consider small serving tongs to maintain hygiene standards, especially important for large gatherings.
Complementary Pairings
Roast beef sliders pair beautifully with sharp, acidic sides that cut through the richness. Consider:
Salads: Crisp coleslaw with apple cider vinegar dressing, or mixed greens with champagne vinaigrette.
Pickled vegetables: Quick-pickled red onions, dilly beans, or traditional bread-and-butter pickles.
Beverages: Bold red wines like Cabernet Sauvignon or Malbec, craft beers with hoppy profiles, or sparkling water with fresh herbs for non-alcoholic options.
The key is balance – rich, savory sliders need bright, acidic counterpoints to prevent palate fatigue.
Dietary Accommodation Strategies
Modern entertaining demands flexibility. Prepare a few variations to accommodate different dietary needs without creating extra work. Use the same roast beef for gluten-free versions served on lettuce cups or gluten-free buns. Dairy-free guests can enjoy sliders without cheese, focusing on the quality of the beef and creative garnishes.
Label each variation clearly – guests appreciate transparency about ingredients, especially those with allergies or dietary restrictions.
Professional Tips for Flawless Execution
Temperature Troubleshooting
If your roast is cooking faster than expected, reduce oven temperature to 250°F and continue monitoring. Conversely, if time is running short, increase to 300°F but watch carefully – the margin for error narrows significantly.
Internal temperature can vary throughout the roast, particularly with larger cuts. Check multiple spots, especially the thickest sections. The USDA recommends 145°F for beef, but for optimal slider texture, 135°F creates the perfect balance of safety and palatability.
Sauce Consistency Management
Horseradish cream sauce should coat the back of a spoon without being thick enough to glop. If it’s too thin, whisk in additional sour cream; if too thick, thin with small amounts of cream or milk. The sauce will thicken slightly when refrigerated and thin when warmed.
Equipment Considerations
A sharp carving knife is essential – dull blades tear meat fibers, creating raggedy slices that fall apart in sandwiches. Electric slicers work wonderfully for uniform thickness but aren’t necessary for home kitchens. A good carving fork helps maintain slices’ integrity while cutting.
Troubleshooting Common Mistakes
The Overcooked Disaster
If your roast exceeds desired doneness, all isn’t lost. Slice it extra thin and serve with additional sauce or au jus made from pan drippings. The increased surface area and added moisture can salvage an overcooked roast.
Timing Coordination Issues
Large gatherings create timing pressures that can derail even experienced cooks. Prepare a detailed timeline working backward from service time. Factor in resting periods, slicing time, and final assembly. Build in 15-20 minute buffers for unexpected delays.
FAQs About Roast Beef Sliders for a Crowd
How far in advance can I prepare the roast beef?
The roast can be cooked up to 3 days in advance and stored whole in the refrigerator. This actually improves the flavor and makes slicing easier. Slice only what you need for immediate service, keeping the remainder whole to prevent drying out. When ready to serve, bring to room temperature or warm gently in a low oven.
What’s the best way to keep sliders warm for extended periods?
For parties lasting more than an hour, prepare sliders in batches rather than all at once. Assemble the first batch and keep subsequent components warm separately. Wrap assembled sliders in foil and hold in a 200°F oven for up to 45 minutes. Use damp paper towels in the wrapping to prevent buns from drying out.
Can I use a different cut of beef for this recipe?
Absolutely! Top round and bottom round work excellently with this method. Avoid cuts with excessive marbling like ribeye – the low-temperature cooking won’t render the fat properly. Sirloin tip roast is another excellent option, though slightly more expensive. The key is choosing lean, uniform cuts that slice well.
How do I prevent the buns from getting soggy?
Toast buns lightly to create a moisture barrier, but don’t make them too crispy. Pat meat slices dry before assembly, and avoid over-saucing. If preparing ahead, store wet ingredients (pickles, tomatoes) separately and add just before serving. Consider brushing buns with a thin layer of butter or olive oil as an additional moisture barrier.
What’s the ideal internal temperature for crowd-safe beef that still tastes great?
For food safety with large groups, aim for 135°F internal temperature, which gives you a beautiful medium-rare that’s safe for extended holding. The meat will continue cooking slightly during the resting period. If serving immunocompromised guests, consider 145°F, but slice extra thin and provide plenty of flavorful sauces to maintain moisture and appeal.
Quantity Miscalculations
Running short on food is every host’s nightmare. Plan for 20% more than expected guest count – people eat more at parties than anticipated, and having leftovers beats disappointed guests. Leftover roast beef makes excellent sandwiches, salads, and hash the following day.
The beauty of roast beef sliders lies in their versatility and crowd-pleasing appeal. Master these techniques, and you’ll have a signature dish that works for everything from casual gatherings to elegant cocktail parties. The key is understanding that cooking for crowds isn’t just about increasing quantities – it’s about mastering systems, timing, and quality control that ensure every guest enjoys the same exceptional experience.
